Learn how to use the Standard Work Specifications (SWS) tool’s features. Note: You must have an account and be logged into the site to access most of these features.
Also, see how to use the SWS. If you need further assistance, please contact us.
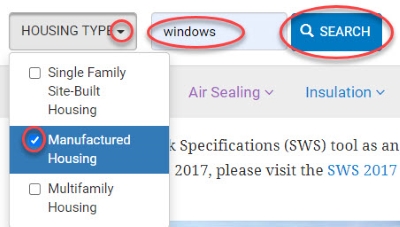
You can narrow a Specifications search by housing type. Click on the HOUSING TYPE drop-down and select the housing type. Then, type in a keyword and click on SEARCH.
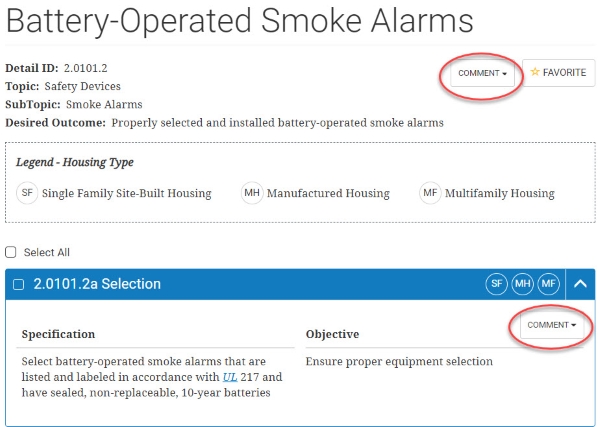
As part of the SWS maintenance process, you can comment on Specifications or Details to provide suggested revisions. First, navigate to the Specification or Detail. Then, click on COMMENT.
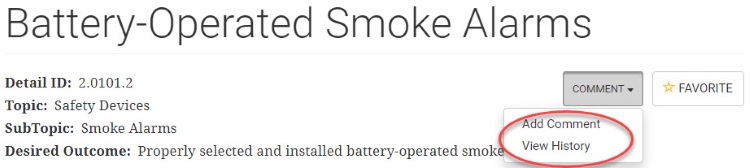
When you click on COMMENT, select either to Add Comment or View History.
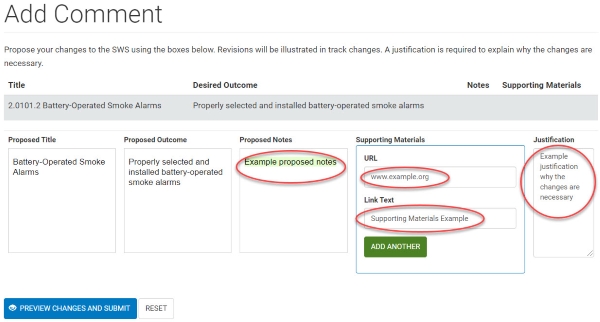
If you select Add Comment, add recommended changes to the text and your suggestions will show up in track changes. A justification is required on why your proposed changes are necessary. Then, click PREVIEW CHANGES AND SUBMIT.
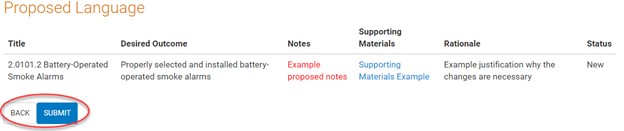
Then, review your proposed changes. If you want to revise them, click BACK. If they require no revision, click SUBMIT.
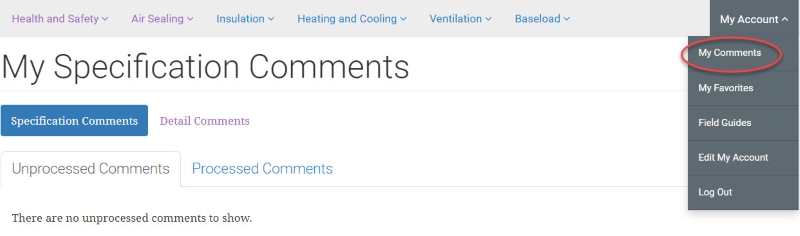
To view comments you’ve submitted on Specifications and Details, click on My Comments under My Account. Click on Specification Comments or Detail Comments. Then, select the Unprocessed Comments or Processed Comments.
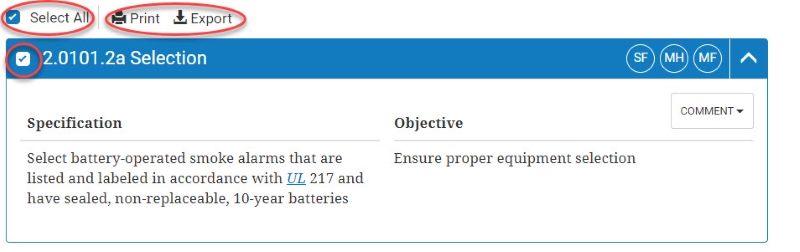
From a Detail page, you can export an Excel file of selected Specifications or print them. Select one or more of the Specifications or Select All. Then, click on Print or Export.
There are two ways to create a new list in My Favorites: via a Detail page or in My Favorites.
Via Detail Page
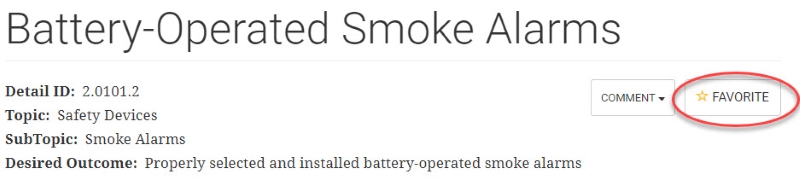
On a Detail page, click on FAVORITE.
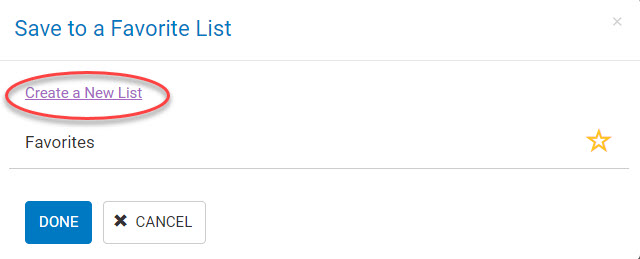
Then, click on Create New List.
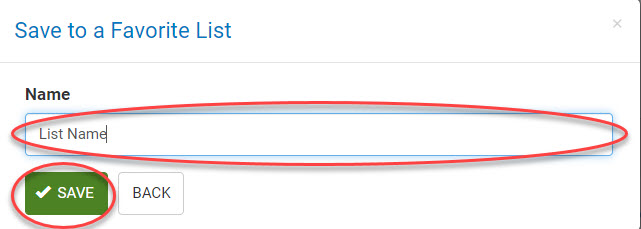
Then, type in the name of your list, and click on SAVE.
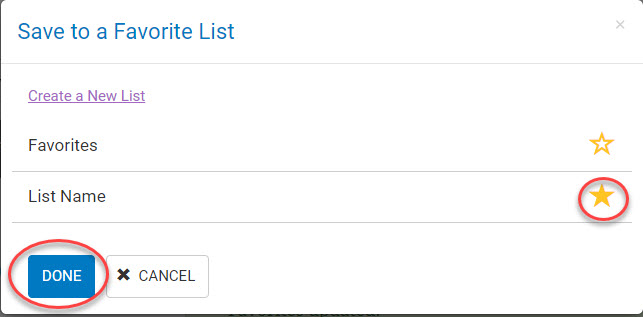
The new list will be saved to My Favorites. Then, click on the star icon and DONE to save the Specifications to that list.
In My Favorites
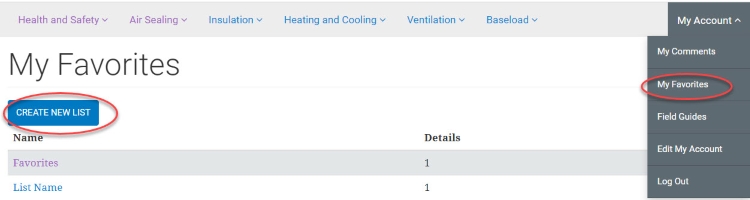
In My Favorites, click on CREATE NEW LIST.
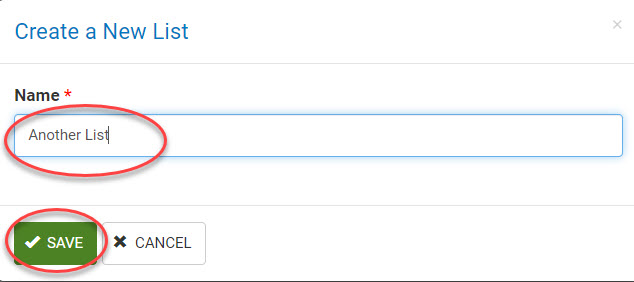
Then, type in a list name and click SAVE.
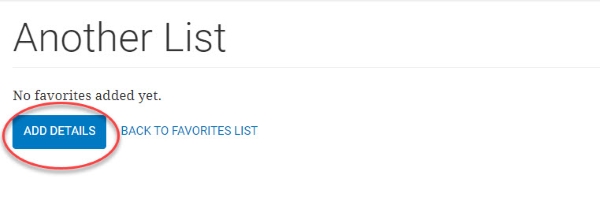
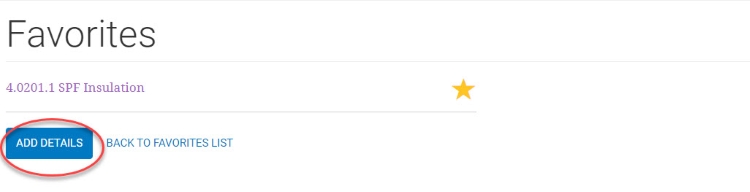
To add Details, click on the new list in My Favorites.

Then, click on ADD DETAILS.
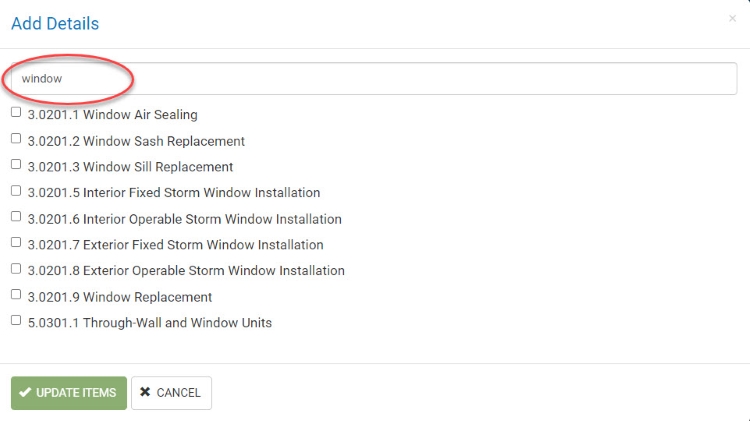
Select the Details you want to add to the list. Then, click UPDATE ITEMS.
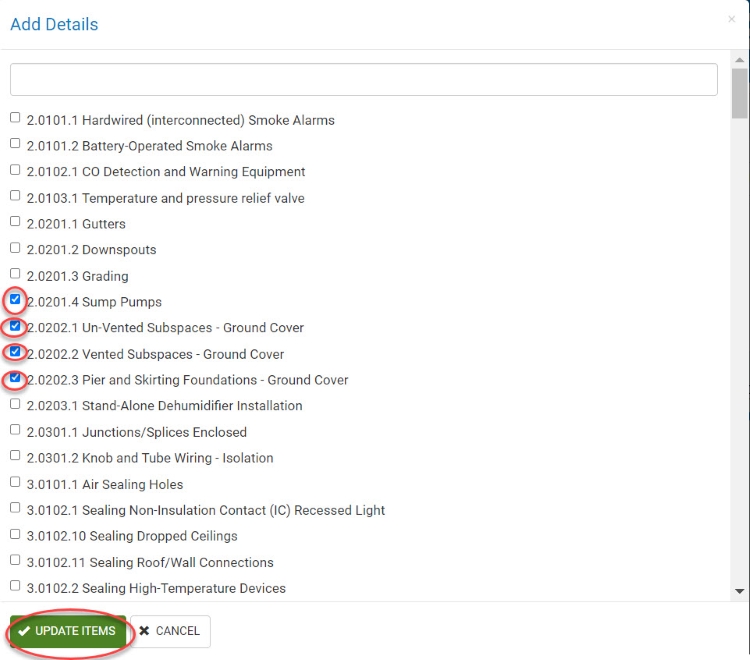
Note: You can search for details by keyword or Detail ID.
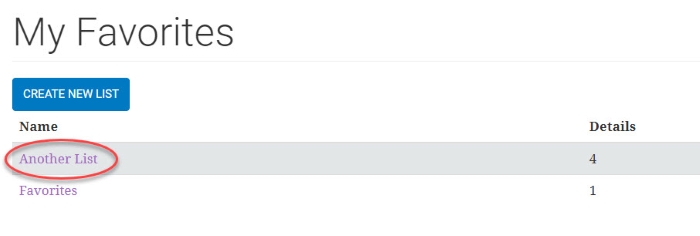
In My Favorites, click on the list’s name.
Edit Name
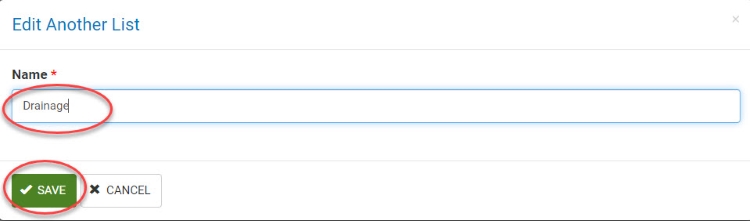
To edit a list’s name, click on EDIT.

Edit name, and then click on SAVE.
Delete List
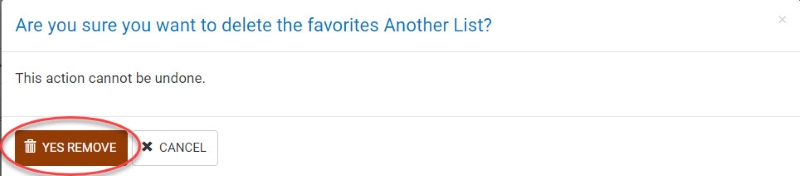
To delete a list, click on DELETE.

Then, click on YES REMOVE.
There are two ways to add Specifications and Details to the Favorites list: via a Detail page or in My Favorites.
Via Detail Page
To add a Detail to the Favorites list from a Detail page, click on FAVORITE.

To save to My Favorites, click on the star icon and then DONE.

In My Favorites
From the My Favorites page, click on Favorites.

Then, click on ADD DETAILS.
Select the Details you want to add to the list. Then, click UPDATE ITEMS.
Note: You can search for Details by keyword or number.
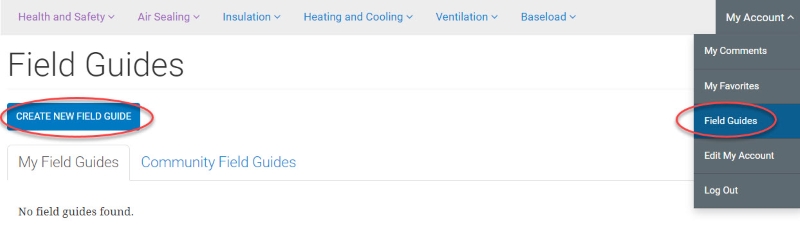
To create a new field guide, click on Field Guides under My Account in the navigation. Then, on the Field Guides page, click on CREATE NEW FIELD GUIDE.
Add Field Guide Name.

From the drop-down menus, select the SWS Version year and Housing Type.

Select whether the field guide will be visible to all SWS users or only visible on your SWS account.

Provide your organization’s or authority’s name.

You may upload an optional logo up to 1 GB. Note: The only allowed file types include png, gif, jpg, and jpeg. To upload the logo, click CHOOSE FILE and select a file on your computer.
After you have uploaded it, it will appear. To delete it, click on REMOVE.
Then, you may also upload an optional cover page up to 1 GB. Note: The only allowed file types include png, gif, jpg, and jpeg. To upload the logo, click CHOOSE FILE and select a file on your computer.

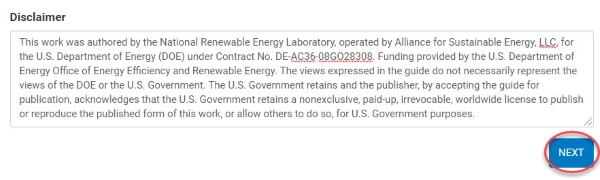
Finally, you can add an optional disclaimer if needed. Then, click NEXT.
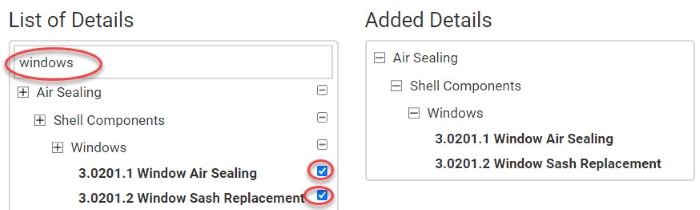
Next, you’ll add Details to the field guide. You can search for Details by keyword or detail number. When you find a Detail you want to add, select it, and it will appear under Added Details.
When you’ve finished adding Details, click NEXT.
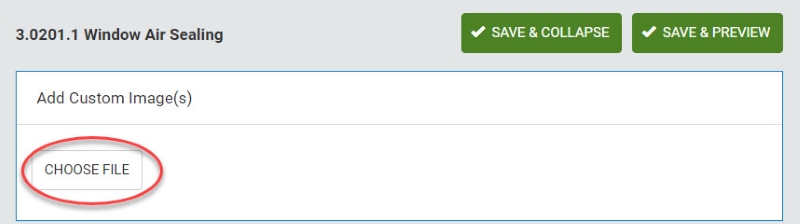
Then, you can customize your field guide by adding images and custom text. To preview the Detail, click PREVIEW. To add an image and/or custom text, click CUSTOMIZE.

If you clicked CUSTOMIZE, add an image by clicking CHOOSE FILE. Images will be displayed in the field guide in the order they are added.
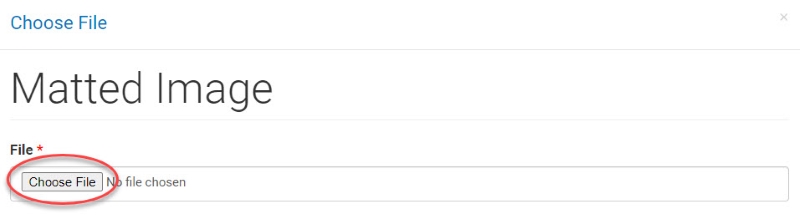
Click CHOOSE FILE again and select an image file on your computer.
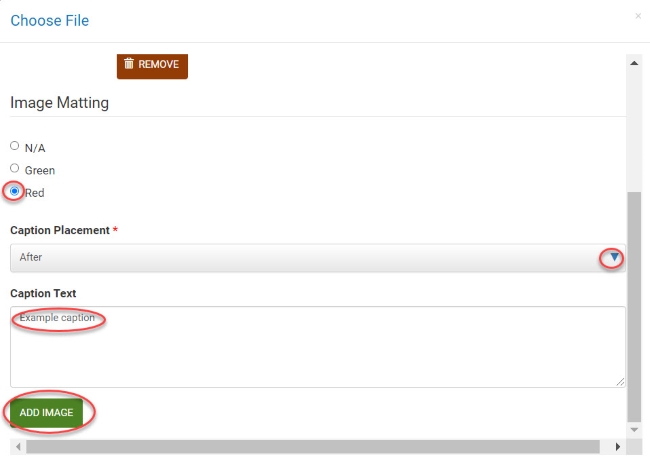
The image file will then appear. Select image customization options: image matting, caption placement, and caption text. Then, click ADD IMAGE. Note: If you close the window, the image and the selections will not be saved.
Then, type in any custom text.
Finally, save the image and custom text you’ve added. You can choose to preview it or return to the Details after it saves.

To edit image customization, click EDIT.
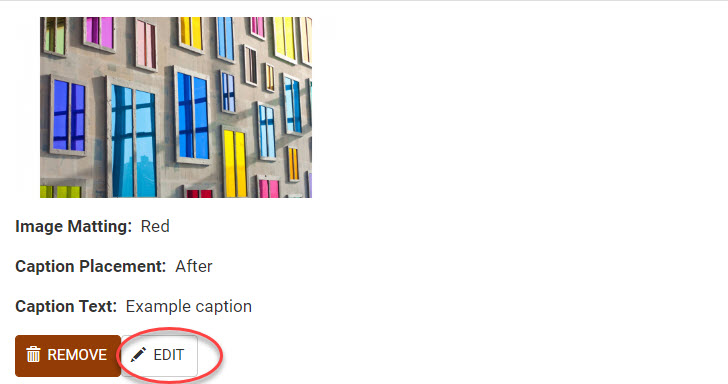
After you edit, click SAVE. Note: If you close the window, your edit will not be saved.
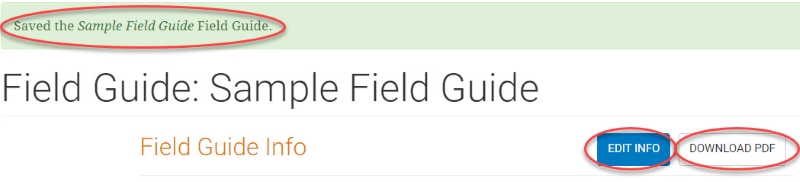
When you have finished customizing the details in the field guide, click SAVE at the bottom of the page. A message will appear saying your field guide has been saved. And you will have the option to edit it or download a PDF of the field guide.
Click SAVE at the bottom of the page.
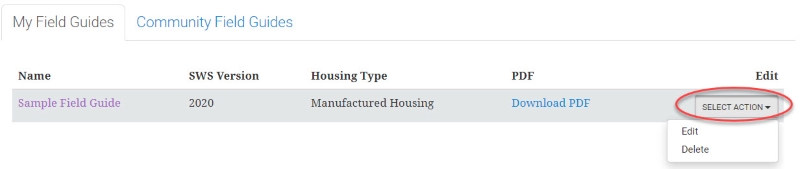
Under My Account in the navigation, click on Field Guides. Click on SELECT ACTION and select either Edit or Delete.